
Often times when we post pictures on Instagram (@preppybythesea) people will comment asking us whap apps we use to edit our pictures and how we do it. We also were asked to do this post when we asked what you wanted to see on or snapchat (preppybythesea), so hopefully you enjoy the tutorial! We did a post about how we edited pictures this winter, however it was a bit different this summer. We tried to keep a bright and colorful "theme" this summer and our process for editing is actually super simple. So, here is the step by step to how we edit our summer photos.

{before}

{after}

Fist of all, we use the Afterlight app which costs $0.99 at the App Store. We start by adjusting the saturation of the image, this brings out the color in the originally dull image. This adjustment is made on a case by case basis so obviously it does not go this high in all of our pictures.

Next, we adjust the brightness. For the most part, we take Instagram pictures on an iPhone and the lighting is not always great, so this is an essential step in brightening everything up.

Following the brightness adjustments, we sharpen the image. If the photo was not taken on a camera, this make it appear to be of higher quality- a little goes a long way.
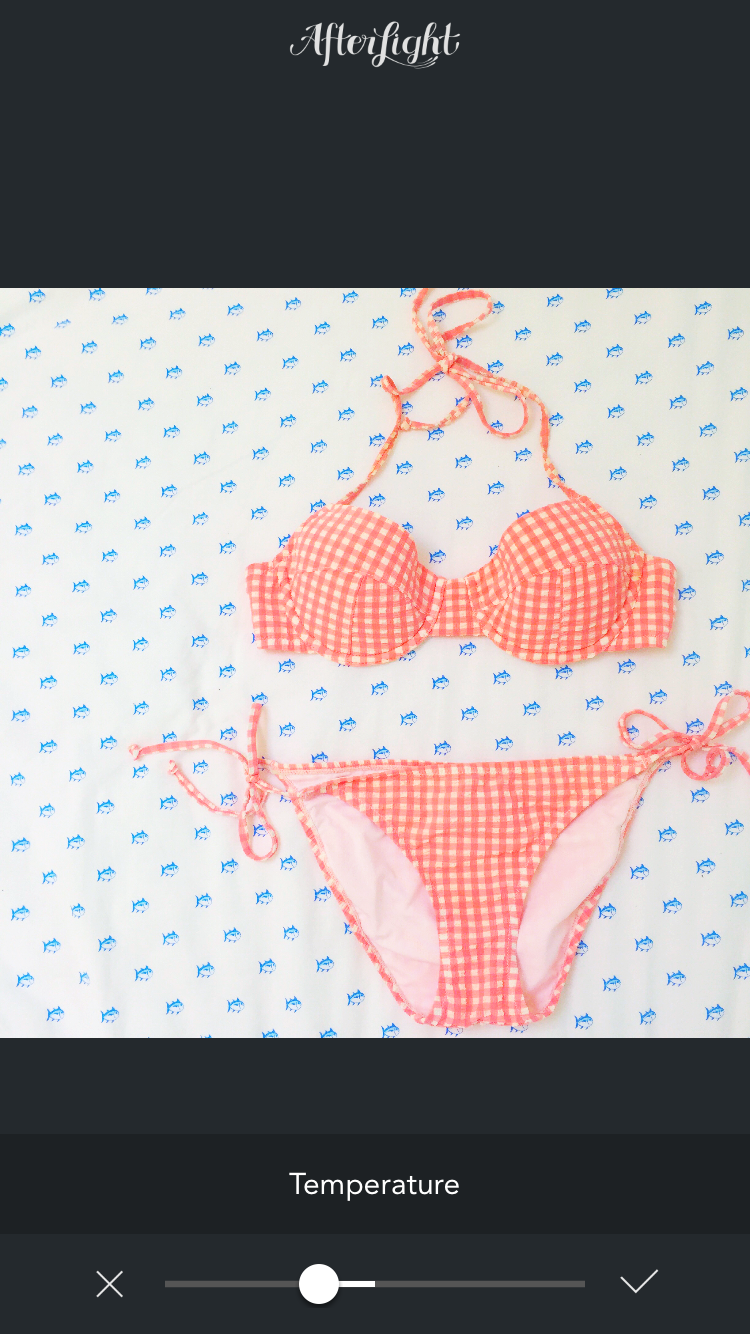
Finally, (if necessary) we adjust the temperature. Often times the increase of saturation can make the image appear a bit more yellow than intended. By making the temperature a bit cooler it removes the yellowish tint!
Hopefully this post was helpful. With fall approaching quickly, there might be some changes to this routine, so the post is all about summer edits!
xoxo,
Catherine
Preppy by the Sea
Just played around with this strategy on a few photos, and you have me convinced that it's magical! The temperature trick to correct that "orangey" saturated look is so genius.
ReplyDelete